Need a little something to dress up your backyard? How about a good old stone wishing well? Everyone loves wishing wells. We see them in gardens and parks. Why not have your well right at your backyard?
You might be worried that building a wishing well will be money and time-consuming. But don’t brush off the idea just yet! You can avoid some expenses by building your own stone wishing well. Just follow these seven easy steps, and you’ll have that well brightening up your backyard in no time:
Step 1: Mark the area
Think of how big you want your well to be and get the diameter. Mark that measurement on the ground where you want your well to stand. These markers will serve as your guide in building your well. It will help you make sure everything is in proportion.
Step 2: Dig the base
After you’ve marked the area for your well, create your base by digging inside the circle. Your base should be at least 3 inches deep. This will be the foundation of your well. Without a base, your well will not have any support from the ground.
Step 3: Add cement
You’ll need cement to hold your base together. Pour cement on the bottom of the 3-inch hole you dug. The thin layer of cement will help make your base firm. Also, add in some cementitious waterproofing to keep the water inside the well and prevent leakage. Smoothen out the cement you poured using a trowel.
Step 4: Put up the stones
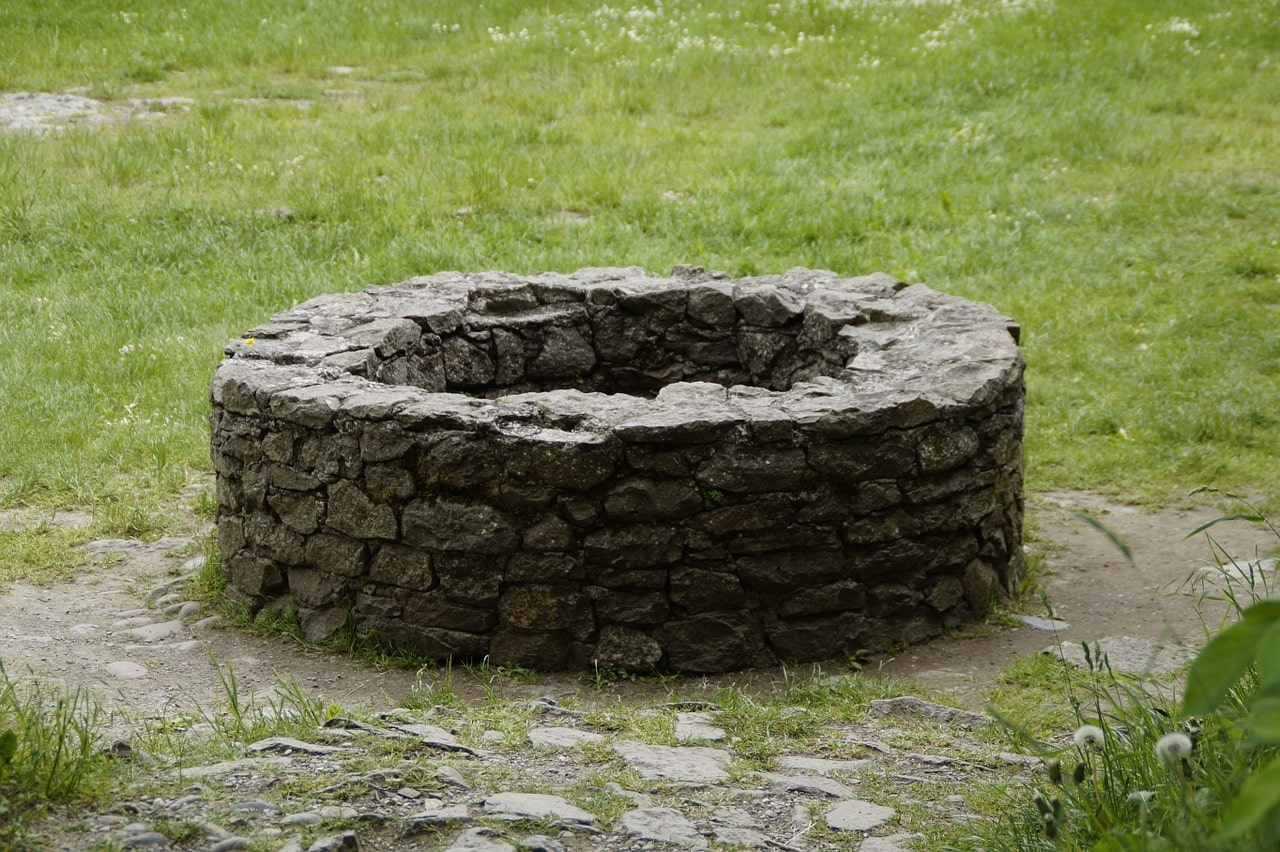
Gather some large stones for your well. The quantity will vary depending on how big you want your well to be. Lay some stones around the perimeter of your circle, and keep them in place with more cement. Apply a 1-inch layer of cement on top of the first batch of stones and smoothen it out. Lay down your next batch of stones on top of the first layer.
Step 5. Build the roof
Before you continue adding more layers of stone, you have to build your roof. This is because the cement base is also where your roof will find support. You should build the base of your roof within 30 minutes after pouring the cement base.
Cut two long and thick pieces of wood. They should be the same height and width. These will be the pillars of your well’s roof. Position each wood vertically on opposite sides inside the stone structure. Drive the wood 1 foot deep into the cement base.
Step 6. Finish your stone structure
After you’ve built the base of your roof, you can now continue adding more stone layers. Put another inch thick of cement base on top of your second layer of stones and add your third layer above it. Do this until you’ve reached your desired height.
Step 7. Patch up holes
Once you’ve completed the structure of your stone well, you’ll notice some holes in between. Patch these up with cement until all the holes are completely covered. There should be no opening so that the water from inside your well will not leak.
And you’re all done! Who knew building your own wishing well would be so easy? Just follow these seven basic steps carefully, and you’ll have an impressive stone well in your backyard in no time!

9 Smart Coffee Table Styling Tips To Adopt
Imagine you have a very great looking sofa, a beautiful featuring wall, and all the stuff to give your living room the best look you can but when it comes to the center table or coffee table you have no idea what to do about it or maybe you’re afraid you’ll make it look cluttered with some random items. These 9 Smart Coffee Table Styling Tips will surely help you to give a quick start. Read More